Adding a Web Part to Dashboard
Purpose: To explain how to add a new web part to the Dashboard.
Prerequisites: Novo initial software settings, Module Configuration, Data in the area of Novo for which the chart is being created.
Steps:
- In the Admin Dashboard window, click on the Edit tab in the upper right corner.

- Click the Galleries link under the Edit Dashboard section.
- From the Web Parts Gallery dropdown select All Available Web Parts or My Closed Web Parts.
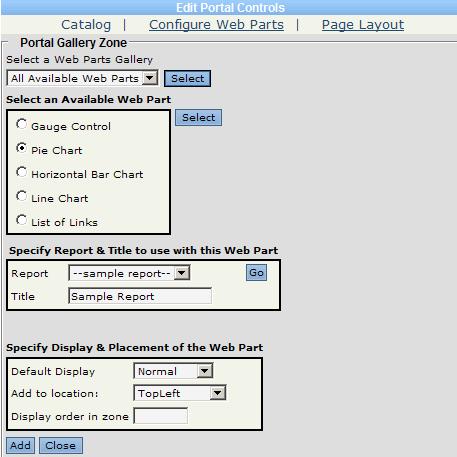
- Select the radio button for the Available Web Part (chart type) on which should display.
- Select the report and provide a title for the web part
- In the report field, select the report from the dropdown that will provide the data for this web part. Depending on the web part chosen, the user will see the titles of the charts created through the report writer for that web part in this list.
- In the title, specify a title to display for this web part on the dashboard.
- In the Default Display field, select what the default display type will be for this chart. The options for this is Normal or Minimized.
- In the Placement on Page field, select where on the page the chart is to be located.
- Specify the Display order in zone, as to where the part should display in the zone (numbering up from 0)
- Click Add to add the web part to the dashboard.
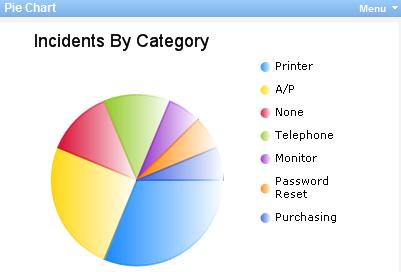
- The char is added onto the dashboard.