Assigning WorkFlows to Requests
Purpose: Assign a WorkFlow to a Request. It can be done manually (directly from the Request form) or automatically using a Custom Rule. This gives you the ability to control and coordinate the execution of Tasks related to a specific Request.
Prerequisites: If manually assigning a WorkFlow to a Request, the Admin User must have the appropriate Role Permission.
Manually Assigning a WorkFlow to a Request:
- Click Requests to open the Manage Requests page.
- Create a new Request or select the Edit icon to open an existing Request.
- Scroll down to the related information section.
- Expand the Tasks bar to display the WorkFlow drop-down list,
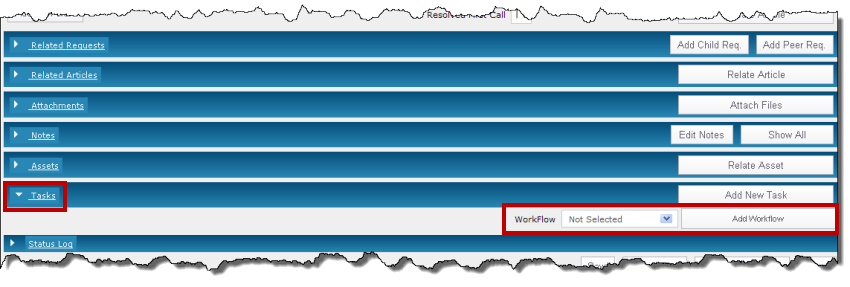
- Click the drop-down arrow to select a WorkFlow then click the Add WorkFlow button.
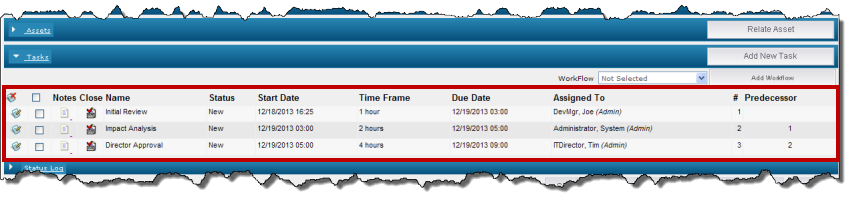
- All of the Tasks associated with the WorkFlow will appear below the Tasks bar.
Automatically Assign a WorkFlow Using a Custom Rule:
- Click Admin->Requests->Custom Rules.
- Click the Add New Custom Rule button.
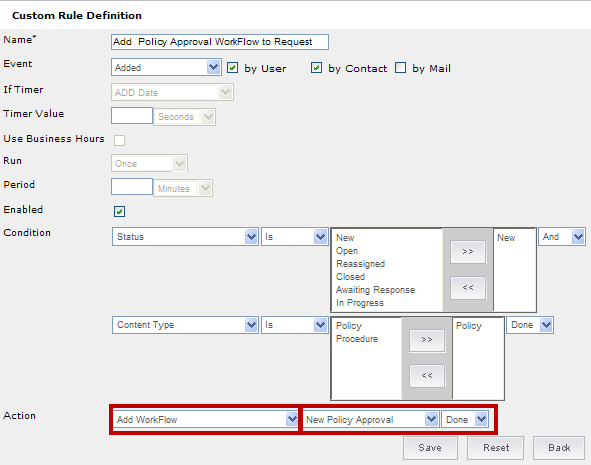
- Enter the Name, Event, Condition, etc. to trigger the rule. If you need more information on creating a Custom Rule, see the related article below "Using Custom Rules for Novo Requests."
- Click the Action drop-down arrow and select Add WorkFlow,
- Another drop-down list will appear to the right. Click the drop-down arrow and select the desired WorkFlow.
- Click Save.
- When a Request meets the conditions of the Custom Rule, the Tasks of the selected WorkFlow will be added to the Request.
Related Articles
 Using Custom Rules for Novo Requests