Creating Portal Views
Purpose: Many companies have a need to display separate article subsets to different groups of their Knowledge Base visitors. This can be accomplished with the Portal Views feature.
Prerequisites: Novo initial software settings, Module Configuration, Group and Roles set up.
Steps:
- Edit Contacts Settings:
- Click Admin->Setup->Settings: Core/General. Under Contacts, select the Enable login with simple database authentication option. Also, check the Enable Portal Views checkbox.
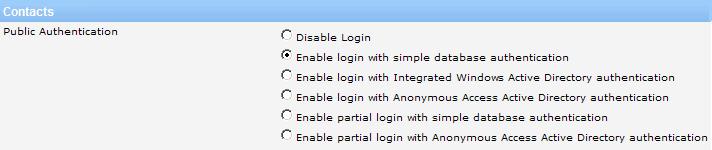
Note: Portal Views will also work with Enable partial login with simple database authentication and corresponding Active Directory settings.
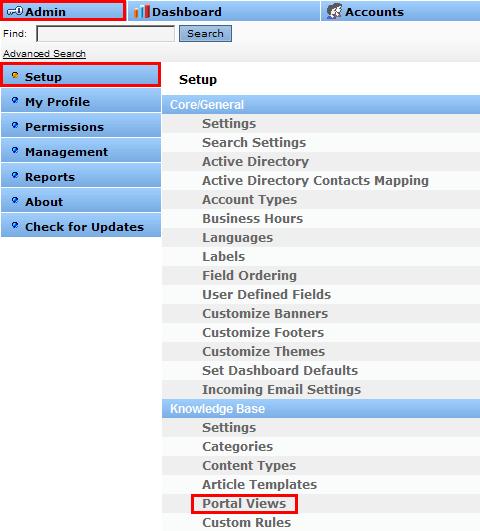
- The new Portal Views option appears under Admin->Setup->Portal Views: Knowledge Base.
- Add/Edit Portal Views
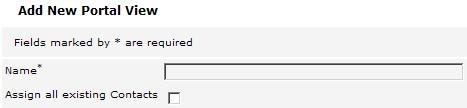
- Click on Portal Views, then click the Add New Portal View button.
- Create your views here. Views can be product lines, separate customer bases, different departments or sections, etc. Activate the Assign all existing Contacts check box to assign all contacts to this view.
- Edit the Contact Record - Portal Views
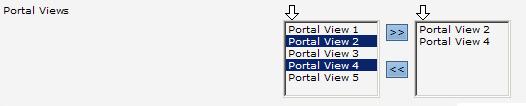
- In Accounts/Contacts, the Contact record has a multi-select list box labeled Portal Views where you can see and select the views you've created. You can assign individual contacts to multiple Portal Views.
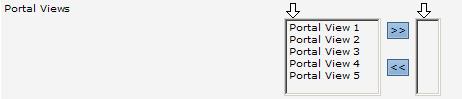
- You can select available Portal Views from the left window (hold the control key while selecting to select multiple views).
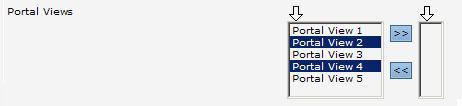
- Then click the right arrow key to bring them over into the right box.
- Edit the Contact Record - Assign a Contact Role - See the related article Creating and Editing Contact Roles below this article for more information about Contact Roles.
- While in the Contacts record, scroll to the Role field. By default, it is at the bottom of the page.

- Select the appropriate Role for the contact.
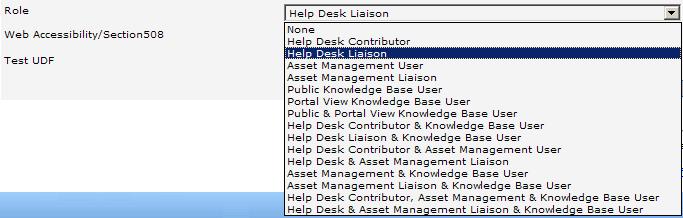
- If this contact will only have Knowledge Base access, choose the appropriate Role from the list below. If this contact will access other Novo modules, (i.e. Help Desk or Asset Management), the Roles that include those modules are Public & Portal View Knowledge Base User by default. See the related article Creating and Editing Contact Roles below this article if you need to create a custom Role.
- Select Public Knowledge Base User to limit this contact to articles that are Public and Enabled.
- Select Portal View Knowledge Base User to limit this contact to articles that configured for the assigned Portal View.
- Select Public & Portal View Knowledge Base User to allow this contact to see articles that are Public and Enabled and articles that configured for the assigned Portal View.
- Edit the Article
- While adding or editing an article, change the Access status of the article to Portal View.

- The Portal View pulldown will now be enabled. Select the view the article will belong to. You can only select one view.

- When contacts login, they will see only those articles that are configured for their view/s and all articles that are configured as Public and Enabled.