Create and Use Categories
Purpose: Categories allow you to classify Knowledge Base Articles and Requests into different types, By using Categories you are able to structure Knowledge Base Articles and Requests to filter search results and organize reports.
Prerequisites: Novo initial software setting.
Click
Admin->Setup->Categories: Knowledge Base
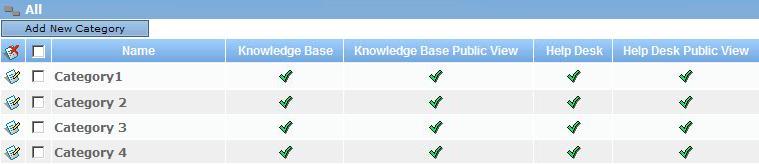
To add a new category:
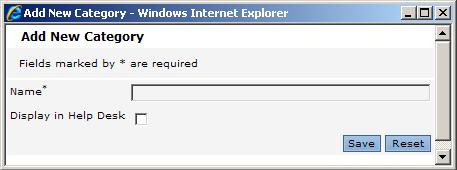
Click on the

button above the Categories header row. This will open the "
Add New Category" window.

Type the name of the new category into the Name field.
You can choose the display options below. If you do not have the Request module, the Request options will not be available.
Display in Knowledge Base - This will display within the duel category selection control on the Add or Edit page of an article.
Display in Request - This will display within a single picklist in the Add/Edit portion of a Request and in the category filter at the top of the admin Manage Requests page.
Display in Request Public View - This will likewise display within a single picklist in the Add portion of a Request of the public URL and in the category filter at the top of the public Manage Requests page.
Click

to save the new category.
To edit an existing category:
- click the edit icon
 to the left of the category window. This will bring the category up in the same edit box as shown above for adding a new category.
To delete an existing category:
- To delete a category click in the check-box to the left of the article and then click on the Delete button on the left of the header row
 .
.
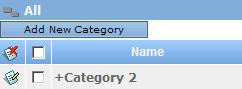
To add a sub-category:
To add a sub-category to an existing category, click the name of the existing category. Add the sub-category the same way as decribed above. A category that includes sub-categories is indicated by a "plus" symbol (+) just to the left of the parent category. To see the sub-category, either on this interface or while editing an article, click the parent category.
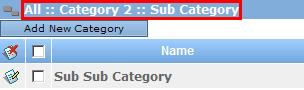
You can add as many sub-categories to a category as you wish. In the admin interface, you will always be able to tell where you are within the Category/Sub-Category structure. Above the
button, there is a Path (Breadcrumb Trail) that is click-able so you can quickly go to any level.
To add a new category or sub-category while editing an article:
While editing the metadata portion of an article,
- Select the category that you would like to create the sub-category for. If you want to create a top level category, select All.
- Then click Add New category.
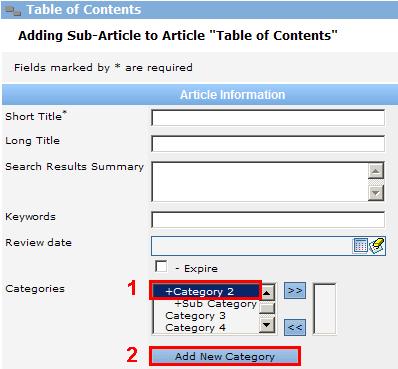
- The Pop-up below will display. It is assumed that the new category will be displayed in the Knowledge Base. If the Request module is present, select whether it will display there as well.
- Click the "plus" symbol (+) next to a parent category to view sub-categories.
The Duel Selection Control:
- Below is a Duel Selection box. You will see this type of control on the Advanced Search page and when you add or edit an article.

- Reveal sub-categories by clicking on the "plus" symbol (+) next to a parent category.

Select a category by clicking it in the left box.
Select multiple categories by holding the Control key and clicking categories.
While selected, click the right arrow button

to bring the selected categoriesto the right box.

To de-select a category, select one or multiple categories in the right box, then click the left arrow button

.