Step 3: Saving Drafts - Using the Drafts Tool
Purpose: The Save Draft feature allows you to create a copy of an article so you can edit and revise the content, without affecting the original article. After you edit your article, you can save it again using the Save Draft feature to continue working on it. Again, the original article remains intact provided you use the Save Draft feature properly.
Note: To maintain the integrity of your original article, always save a copy using the Save Draft feature, then edit the draft version.
Prerequisites: Articles to be edited.
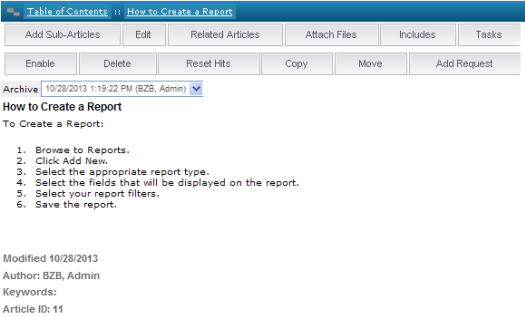
Steps: - Ensure that you have the desired article selected. Look closely at the Articles window shown below. Just below the Article Options Bar is the Archive field, which contains the Article History. If this is the first time the article is being edited, no Drafts field will appear.
Click the  button then click the Content tab to edit the article. When you have finished editing the article and would like to save it as a draft click the
  button.
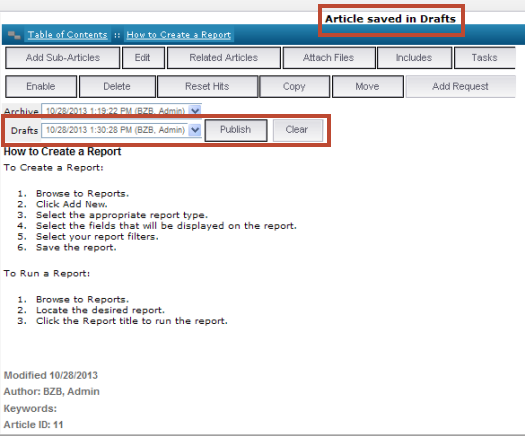
- The saved draft version of the article is now displayed. Note that "Article saved in Drafts" is displayed above the Article Options Bar and the Drafts drop-down list is displayed under Archive. When users view the article, they will see the original version of the article and not the draft version.
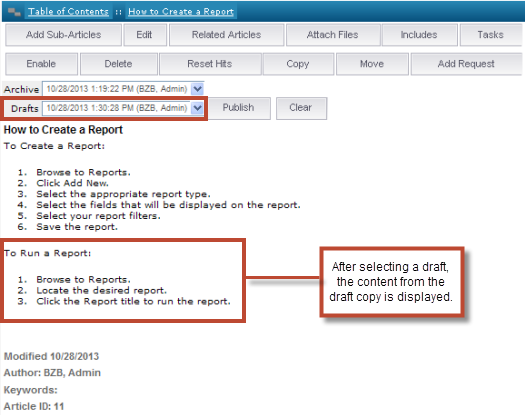
- If you need to make additional edits to the draft version, select the article. The Drafts field will be displayed under the Arichive field. Click inside the Drafts field and select the draft to display the draft version of the article.
- Click the button then click the Content tab to edit the article. If the article is not ready to be viewed by users click the button.
- Once all the edits have been completed and the article is ready to be viewed by users the next step is to publish the article. Click the on the
 button.
- If you want to remove the draft shown in the Drafts field, then click on Clear button next to the field.
- Click on the Clear All button to remove all drafts from the list.
Adding a WorkFlow
If an Admin User does not have the ability to publish an Article, an Approval WorkFlow can be added automatically to the Article. For example, an Admin User completes the final edits and saves an Article as a draft. When the Send Approval button is clicked, it triggers the custom rule to add the WorkFlow to the Article.
- Create a WorkFlow. f
Browse to Admin > WorkFlows.
Click Add New WorkFlow.
Name - provide a name for the WorkFlow.
Type - select the Knowledge Base radio button.
Click Save.
In the Tasks column, click the Tasks icon for the WorkFlow.
Add the necessary tasks.
- Setup a Custom Rule.
Browse to Admin > Knowledge Base > Custom Rules.
Click Add New Custom Rule.
Name - provide a name for the rule.
Event - select Send for Approval.
Condition - select a condition to trigger the rule.
Action - choose Add WorkFlow and select the desired WorkFlow
Click Save.
- How it Works.
The Admin User completes the final edits and clicks the Save Draft button to save the Article as a draft. The User then clicks the Send Approval button. This will trigger the custom rule to run and add the designated WorkFlow to the Article.
Related Articles
 Using the Edit Articles Feature